Maple Divinity Candy recipe
Posted August 7, 2023 by: Admin
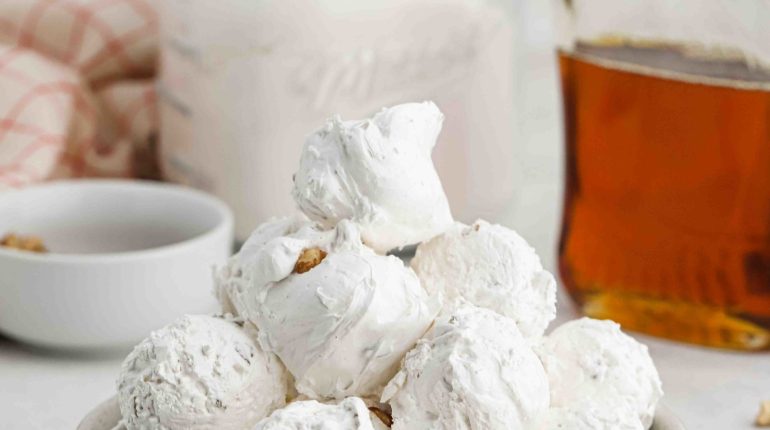
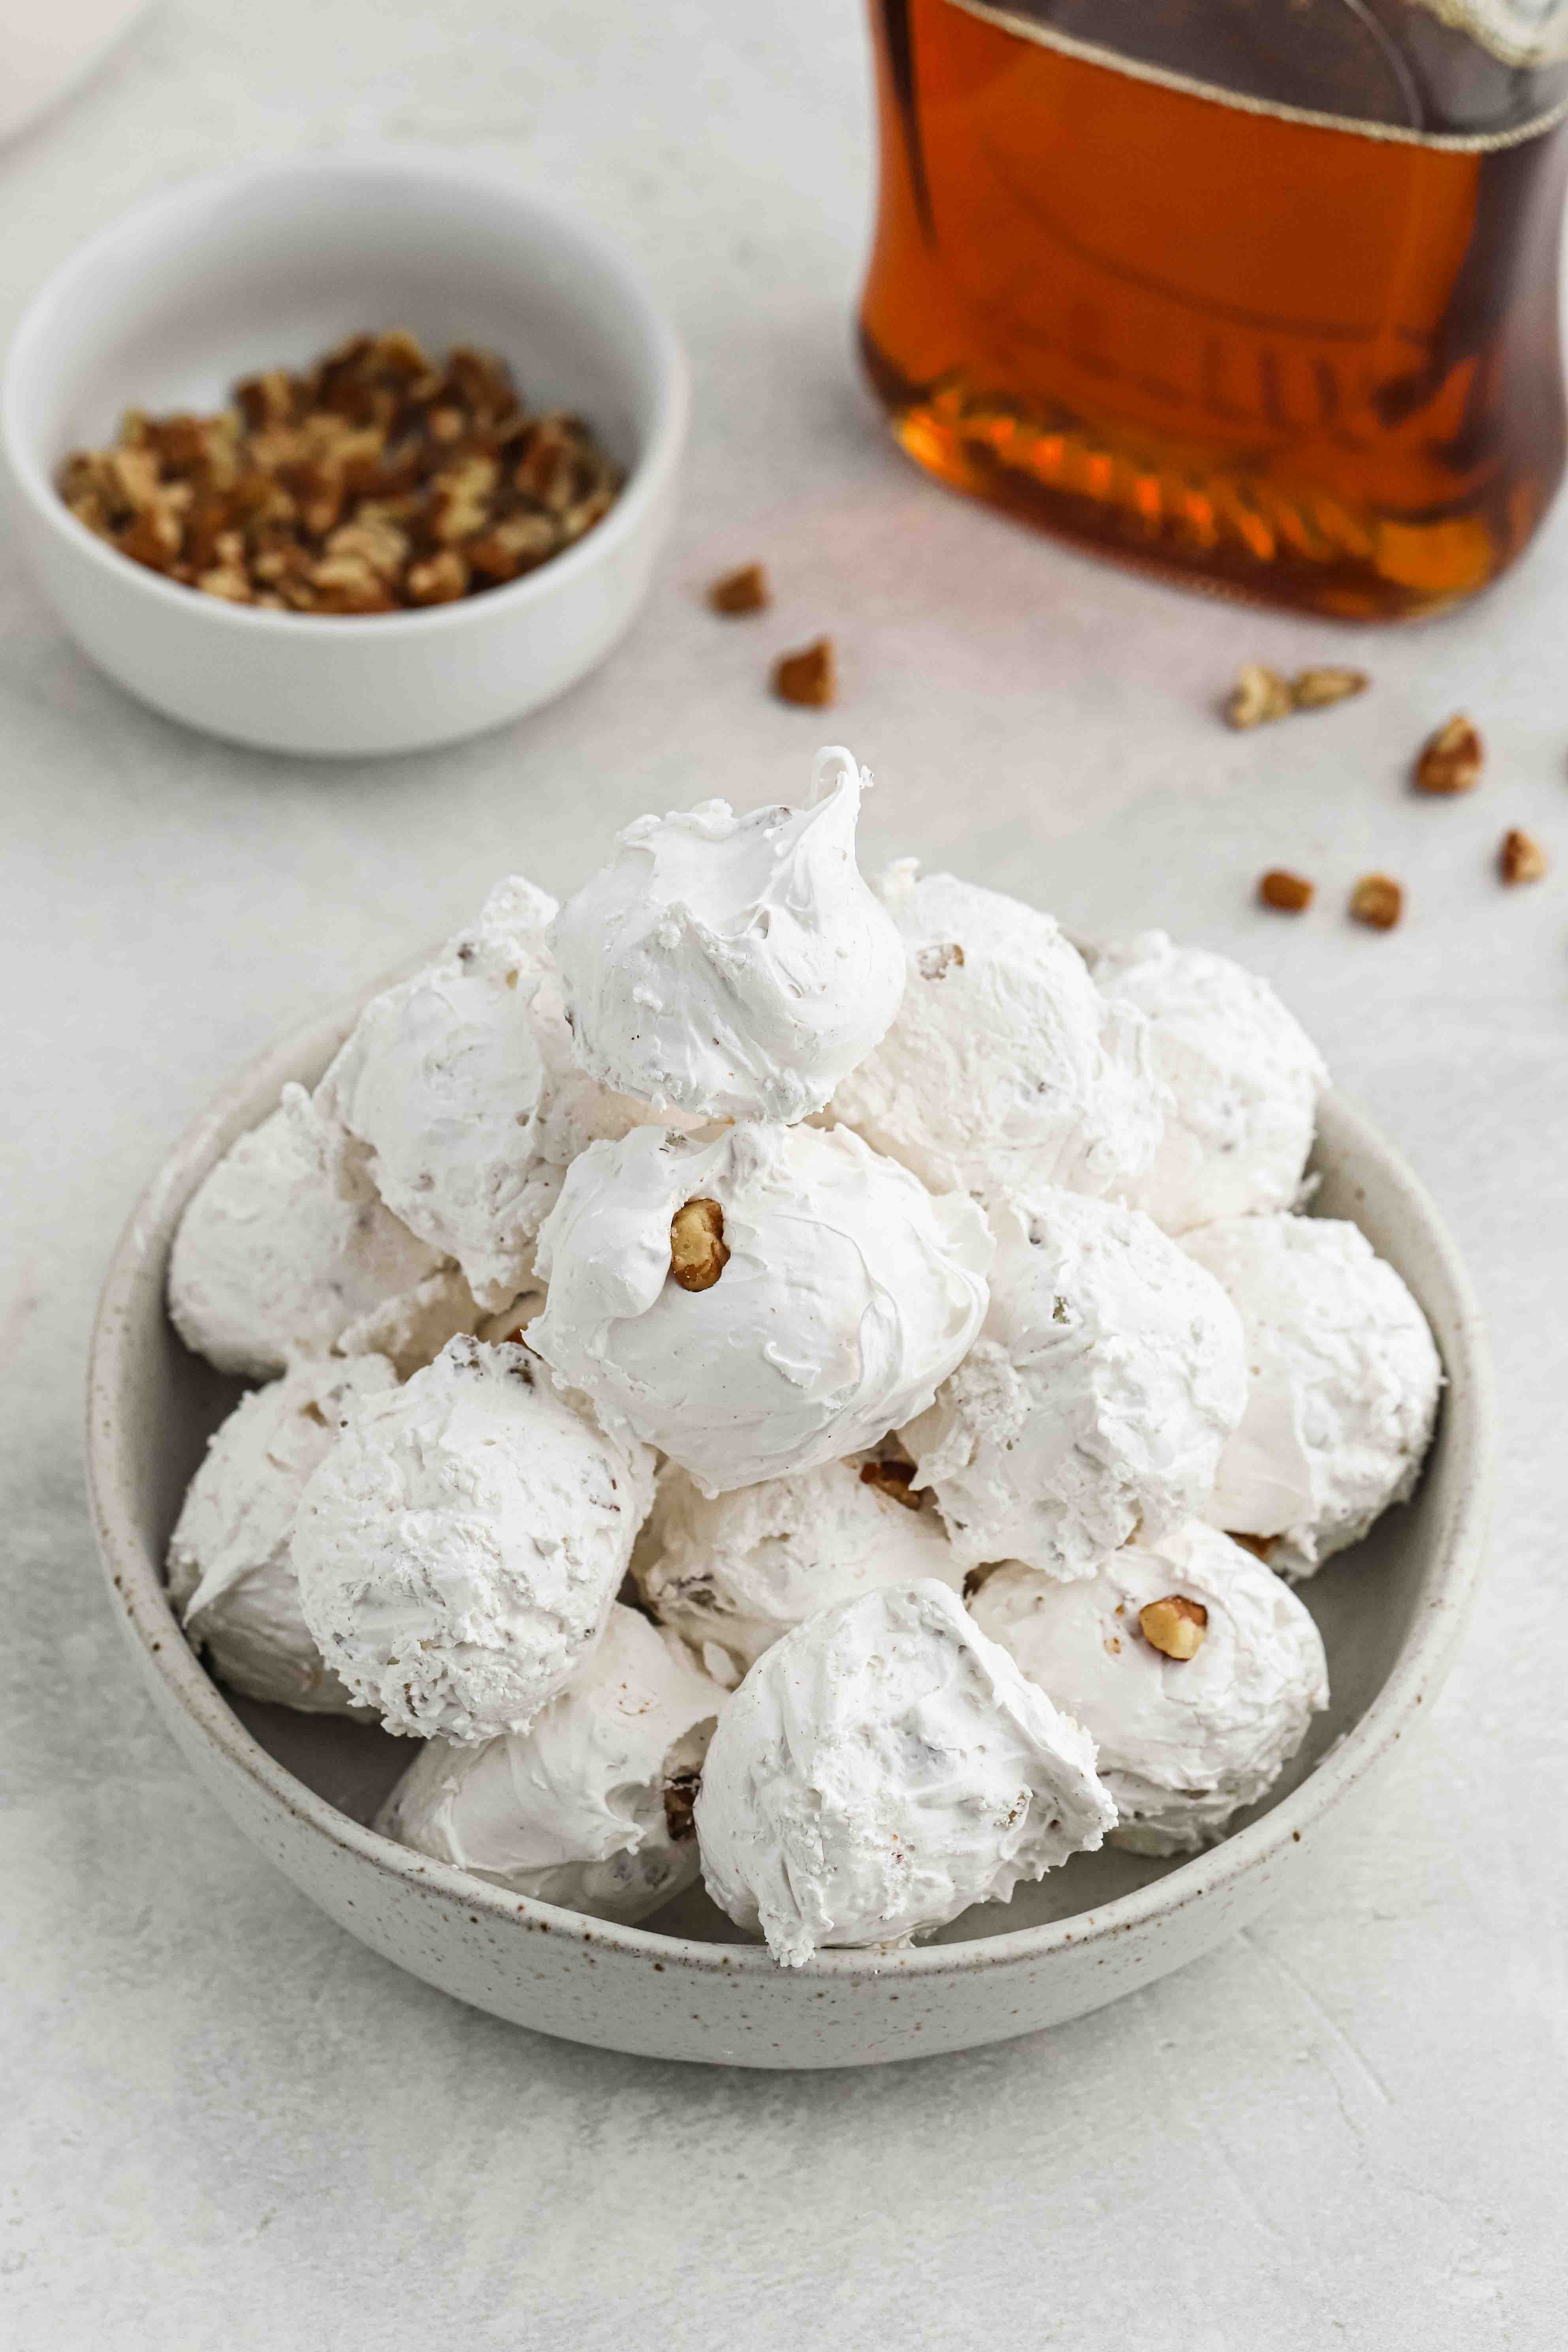
This simple yet delicious Maple Divinity Candy recipe is light as air, sweet, and creamy! With a touch of Southern nostalgia, it’s the perfect dessert that never fails to impress a crowd. Add this homemade confection to a plate of other festive treats or gift some to friends and family!
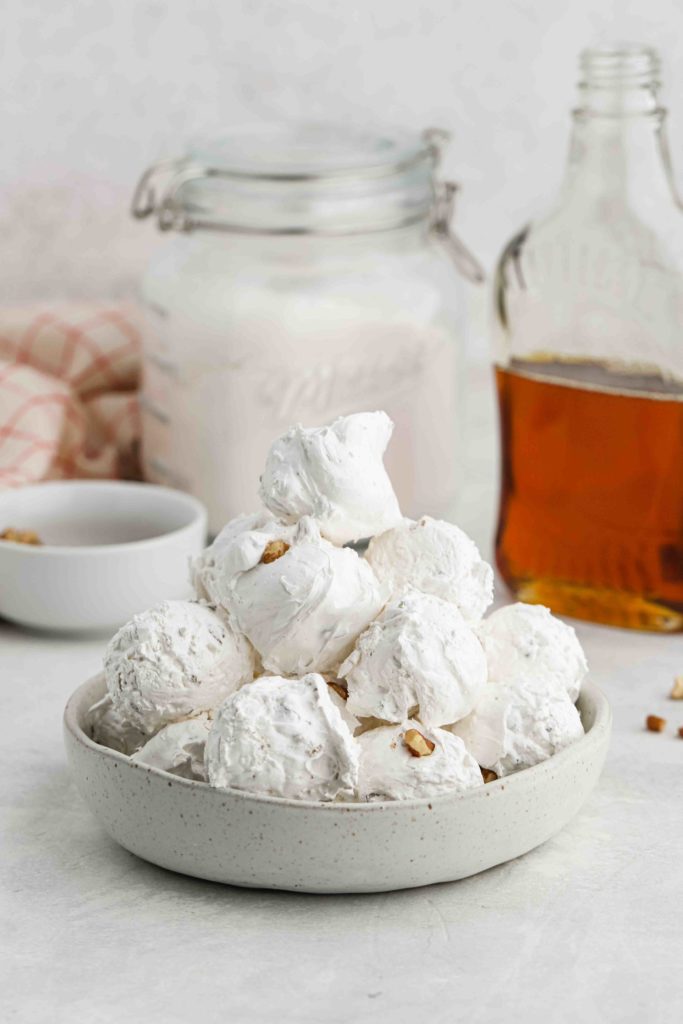
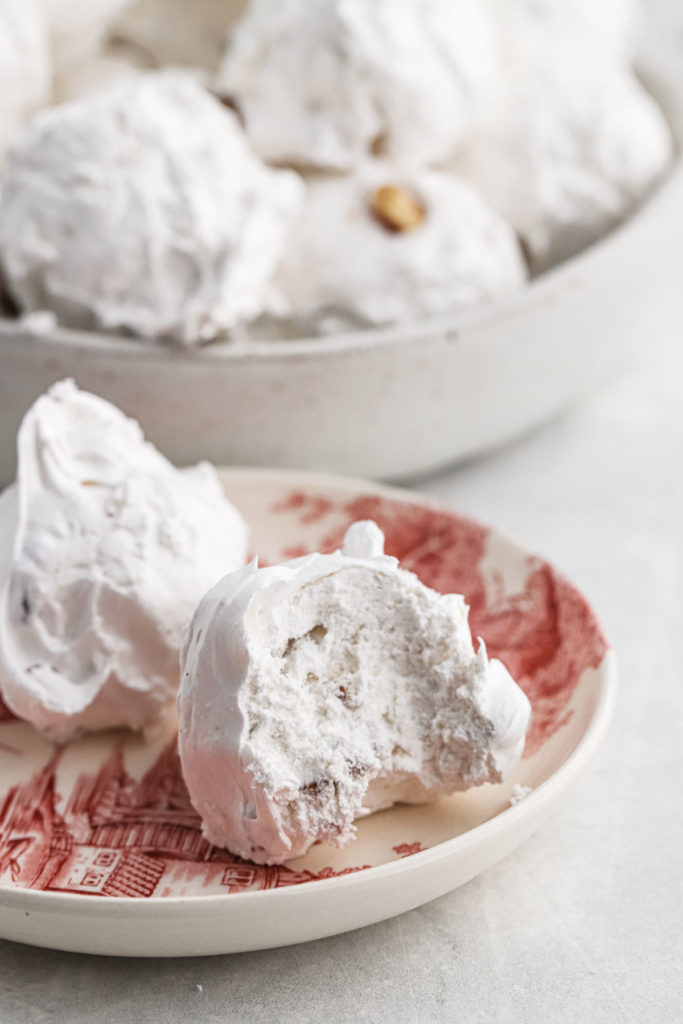
Why not bring a touch of Christmas in this July heat?! With deep roots in Southern tradition, maple divinity candy encapsulates the sweetness of nostalgia in every bite. It tastes like a blend of nougat, marshmallows, and meringue all in one, resulting in an absolutely “divine” candy recipe fit for angels!
Despite the complexity of flavors and textures, the total cooking time is less than thirty minutes. And with my tips and tricks, the process of making this confection couldn’t be simpler!
Whether you’re celebrating a special occasion or looking for a mid-afternoon pick-me-up, this maple divinity candy is always a good choice. So, swap your holiday garlands for sandals, turn up the air conditioner, and get into the holiday spirit!
Why you’ll love this recipe
- Homemade goodness: Nothing beats the flavor and texture of homemade candy.
- Quick & easy: This recipe requires only 10 ingredients and 30 minutes!
- Sweet & nutty: Each bite is packed with the perfect blend of sweet maple, fluffy meringue, and crunchy pecans.
- Perfect for gifts: This candy makes such a thoughtful homemade gift during the holidays.

Ingredients
- Confectioner’s sugar: For a light dusting on the baking pan to prevent the divinity candy from sticking.
- Egg whites: Once whipped to soft peaks, egg whites create a fluffy, airy texture. Be very careful not to accidentally include some of the yolks as this will make it difficult to whip.
- Granulated sugar: The main sweetener that forms the structure of the candy. There is no substitute for granulated sugar in this recipe.
- Cream of tartar: Stabilizes the egg whites and helps them maintain their volume.
- Corn syrup: Keeps the sugar from crystallizing, creating a smooth texture.
- Fine sea salt: Enhances the flavors of the sweet ingredients. Never skip the salt in baking recipes!
- Vanilla extract: Adds depth and aroma. I recommend pure vanilla extract for the most robust and intense flavor.
- Maple syrup: Imparts a touch more sweetness and a hint of maple that puts the divine in divinity candy!
- Pecans: Adds a wonderful crunch and nutty flavor. You can also use walnuts or almonds.
How to make maple divinity candy
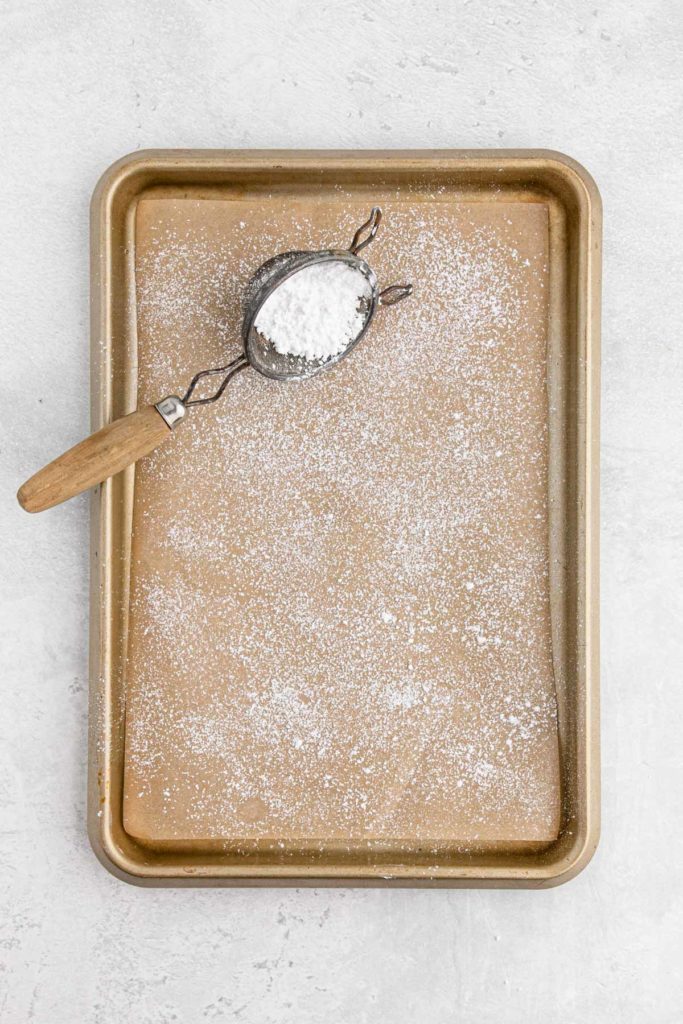
- Parchment prep: Start by lining your sheet pan with parchment paper and dusting it with a light layer of confectioner’s sugar.
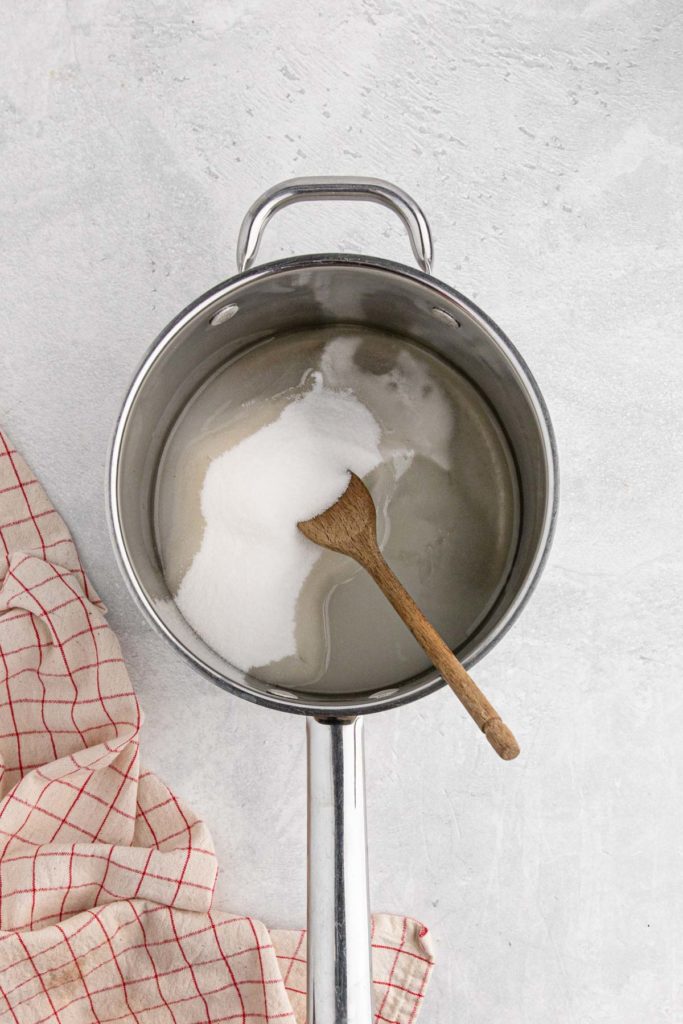
- Sugar mixture: Place your egg whites in a stand mixer and set them aside, then combine your sugar, corn syrup, and water in a saucepan, stirring gently to combine.
- Cook the sugar: Cook the sugar mixture until it reaches a temperature of 260F.

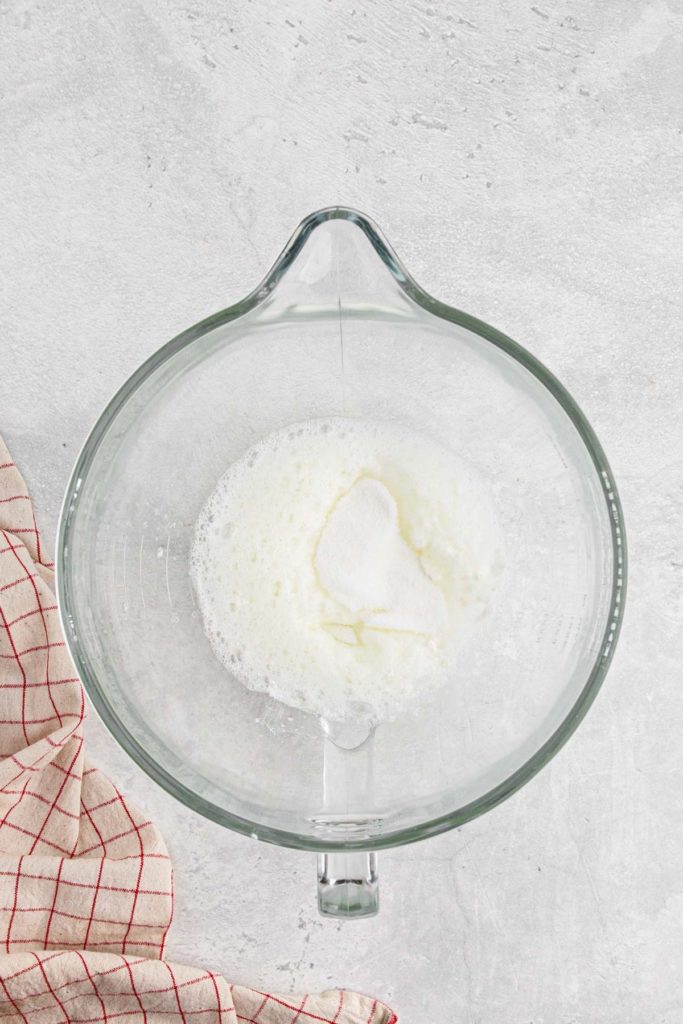
- Whip the whites: Meanwhile, start whipping your egg whites until they form soft peaks, adding cream of tartar and sugar for extra stability.
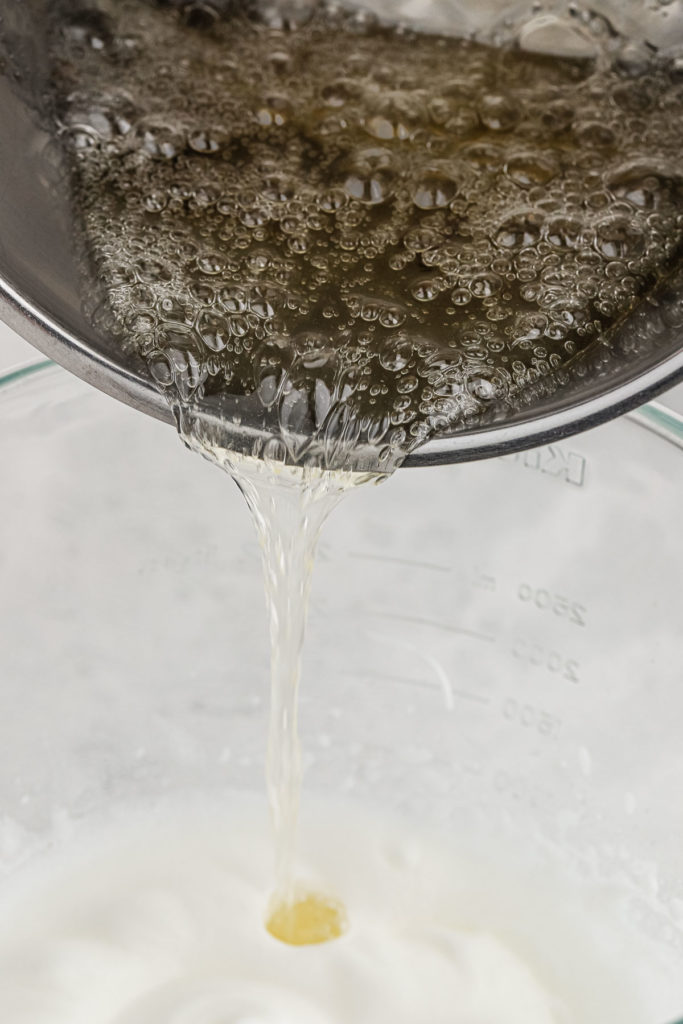
- Combine the mixtures: Slowly drizzle the hot sugar syrup into the egg whites while the mixer is running. Then, mix in the salt, vanilla, and maple syrup.
- Keep whisking: Continue whisking the mixture until it turns into marshmallow-like fluff and starts to lose its shine — this is the consistency you’re going for.
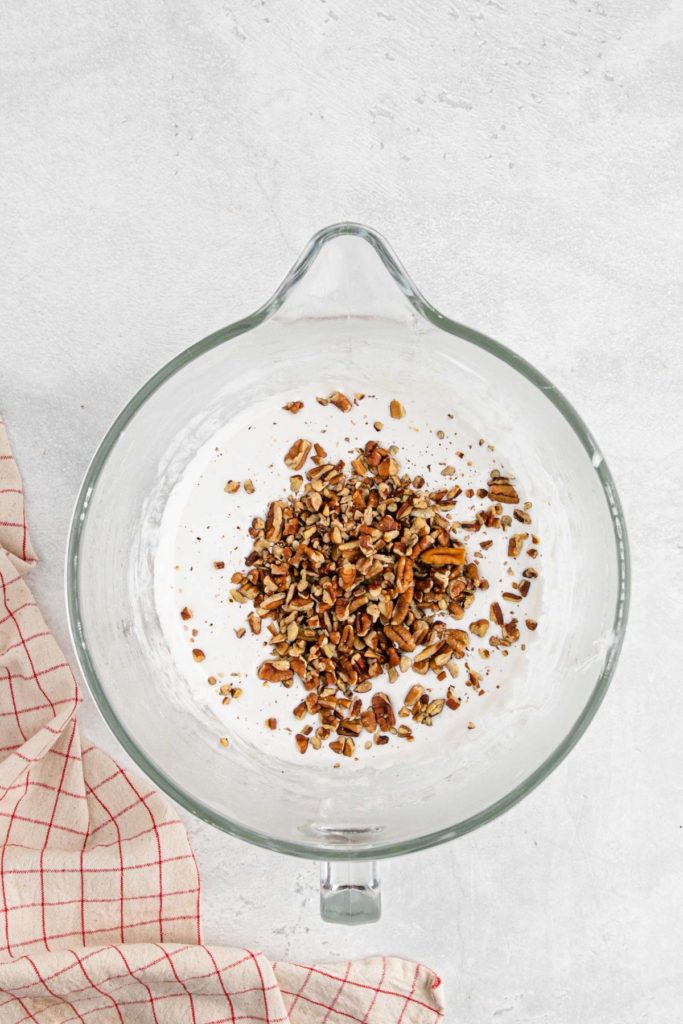
- Incorporate the nuts: Stir in toasted and chopped pecans, continuing to whisk until the mixture forms thick ribbons.
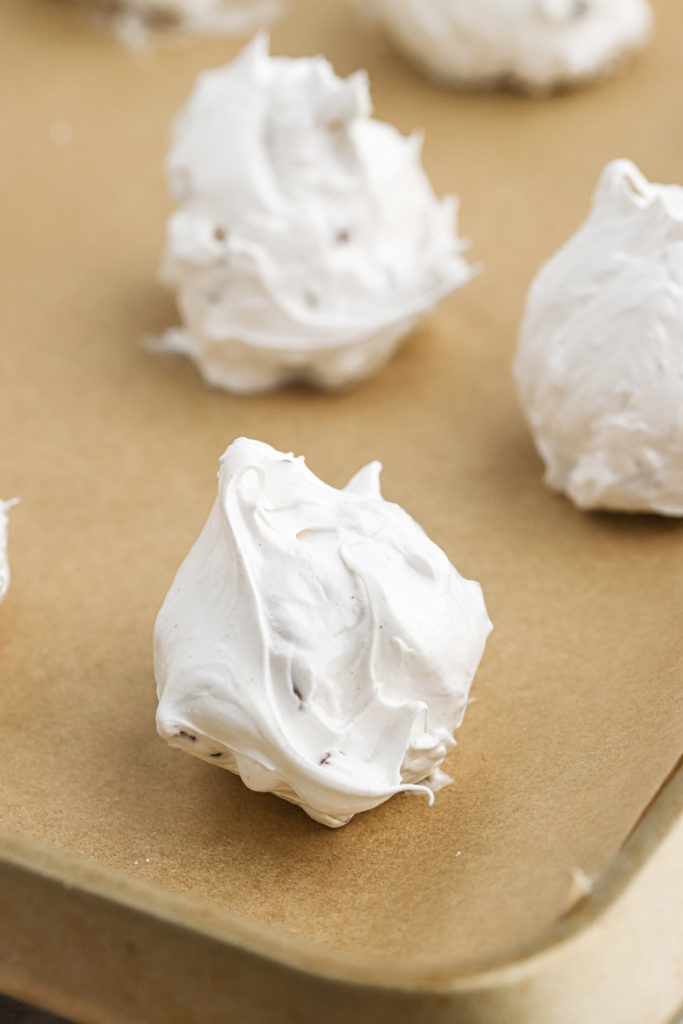
- Scoop and set: Finally, scoop individual portions of the divinity onto your prepared sheet pan, allowing them to set before serving.
Tips for making the best maple divinity candy
- Use clean utensils: Make sure to properly clean your utensils since fat (like leftover oil droplets) can prevent egg whites from whipping properly.
- Temperature control: Both the sugar syrup and the egg whites need to reach the correct consistency at the same time. Start whipping the eggs as the sugar mixture reaches 230F so they’ll be ready by the time it reaches 260F.
- Room-temperature eggs: Make sure your eggs are at room temperature to avoid running into problems when whipping them.
- Toasted pecans: Toasting enhances the pecan’s nutty flavor and provides a bit more complexity. Whichever nuts you choose to use, don’t forget to toast them!
- Quick scooping: The mixture will start to set as soon as you scoop, so work as quickly as you can.
- Follow the recipe closely: Candy-making can be tricky, so it’s important to adhere to the steps exactly as their written.
Popular substitutions & additions
- Walnuts: If you’re not a fan of pecans, try using toasted walnuts instead.
- Color: Experiment with different food coloring to add a festive twist.
- Almond extract: For a different taste, try almond or peppermint extract.
- Add-ins: Mix in dried fruit or chocolate chips for a unique texture.
What to serve with maple divinity candy
Nothing pairs better with maple divinity candy than a cup of coffee or hot chocolate or sorrel and some other festive candies like these:
How to store maple divinity candy
How long will maple divinity candy last at room temperature?
Maple divinity candy can stay fresh at room temperature for 10-14 days. It’s best to keep it in an airtight container lined with wax paper to avoid a sticky mess.
How long will maple divinity candy last in the fridge?
With the same storage method, you can extend the shelf life up to 3-4 weeks in the fridge. However, I suggest skipping the fridge altogether and freezing these candies instead.
Can I freeze maple divinity candy?
You can store maple divinity candy in the freezer for at least 2 months as long as it’s stored in a freezer-safe container lined with wax paper. Just make sure to thaw the candies at room temperature for about an hour before serving them.
Frequently asked questions
Why isn’t my divinity candy setting?
Your divinity candy is likely not setting because you didn’t whip the egg whites and sugar mixture enough. It’s essential to whisk until the mixture becomes thick and loses its shine.
Can I make this candy without a candy thermometer?
Although making divinity candy without a thermometer is possible, you just won’t achieve the same accuracy. Candy making requires precise temperatures and may give you a headache if you constantly have to start over again.
Why is my divinity candy grainy?
Almost every time candy turns out grainy it’s because the sugar crystalized. Adding corn syrup helps prevent this process.
More sweet recipes
Maple Divinity Candy Recipe
This simple yet delicious Maple Divinity Candy recipe is light as air, sweet, and creamy! With a touch of Southern nostalgia, it’s the perfect dessert that never fails to impress a crowd.
Prep Time 5 minutes minutes Cook Time 17 minutes minutes Total Time 22 minutes minutes
Author Jocelyn Delk Adams
- 1 tbsp confectioner’s sugar
- 2 large egg whites room temperature
- 2 cups granulated sugar divided
- 1/2 cup light corn syrup
- 1/4 cup water
- 1/2 tsp cream of tartar
- 1/2 tsp fine sea salt
- 1 tsp vanilla extract
- 1 tbsp maple syrup
- 1 cup chopped pecans toasted
- Prepare sheet pan with parchment paper and sift confectioners sugar over surface. Gather either 2 tablespoons or a #60 disher in a small bowl to prepare for scooping your divinity.
- Place egg whites in the bowl of a stand mixer fitted with the whisk attachment. Set aside.
- In a heavy-bottomed medium saucepan, place 1 ¾ cup sugar, corn syrup, and water. Stir gently together until all sugar has been hydrated, careful not to slosh mixture on sides of pot.
- Cook on medium-high heat until mixture reaches 260F, about 8-10 minutes.
- Meanwhile, when your syrup reaches about 230F, whip egg whites on medium-high speed for about 1 minute. Once foamy, add cream of tartar. Slowly add remaining ¼ cup of sugar, then increase speed to high until mixture thickens and becomes white in color. The goal is to reach soft peaks in your egg whites and have your syrup reach 260F at the same time.
- Carefully pour syrup into bowl with whipping egg whites, careful to aim right between the whisk and sides of the bowl. Add salt, vanilla, and maple.
- Continue whisking on high until mixture looks like marshmallow and starts to lose its shine. Reduce speed and add cooled pecans and continue whisking for another minute. Mixture should be extremely white and fluffy with a dull sheen and should fall off the whisk into thick ribbons and take time to absorb back into the rest of the mixture. If it absorbs quickly, continue whisking.
- Add hot water to the bowl with your disher or spoons. Quickly scoop tablespoon-size portions of divinity onto prepared sheet pan, continuing to dip in hot water in between every couple scoops. Mixture will set up as you scoop.
- Let mixture set in cool, dry space for 4 hours. Divinity can be stored in an airtight container for 4 days.
Note: Egg whites whip up best when free from fat, so ensure your mixing bowl and whisk are super clean (no traces of oil) and carefully separate the eggs making sure not to get any trace of yolk in the whites.

