Easy Creme Brulee Recipe
Posted August 7, 2023 by: Admin
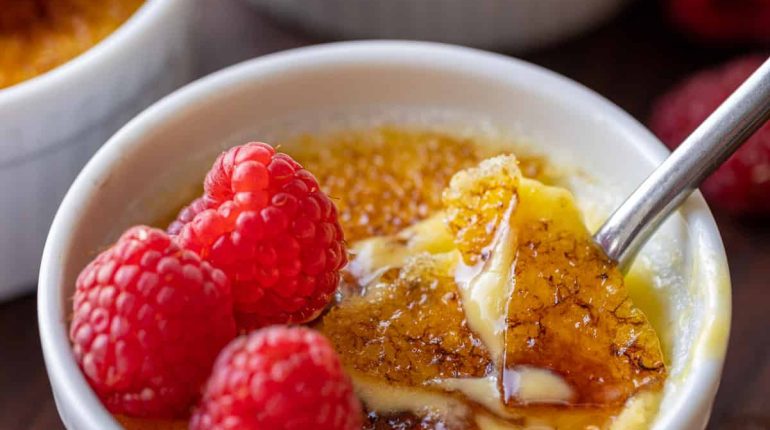
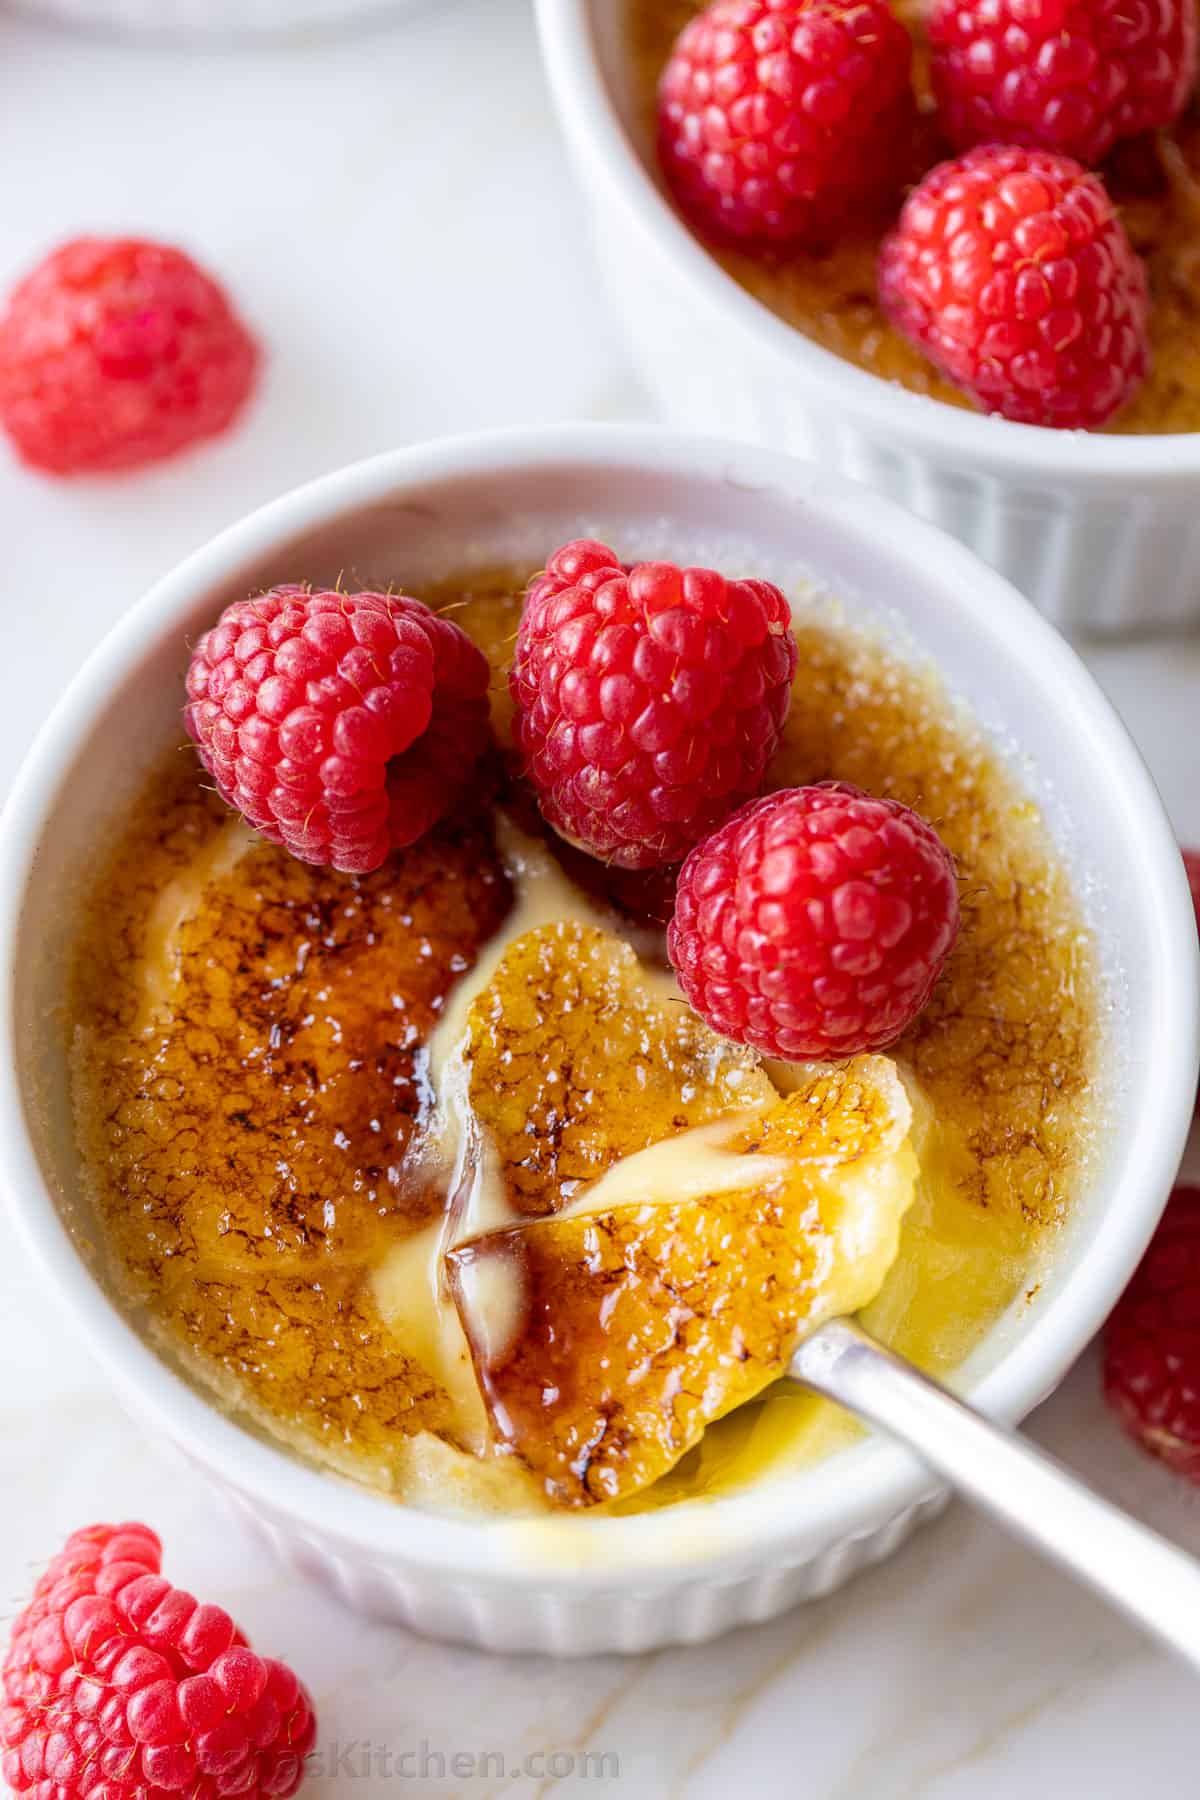
Creme Brulee is one of our favorite easy dessert recipes, that requires only 5 ingredients. This classic treat is a delight for the senses, with its crunchy burnt sugar top covering a silky vanilla custard.
We love to re-create our favorite restaurant desserts at home, such as Chocolate Souffle, Tiramisu, chocolate-dipped Eclairs, and of course this Creme Brulee recipe, which is the easiest of them all! Watch our video tutorial and you will be a pro in no time!
What is Creme Brulee?
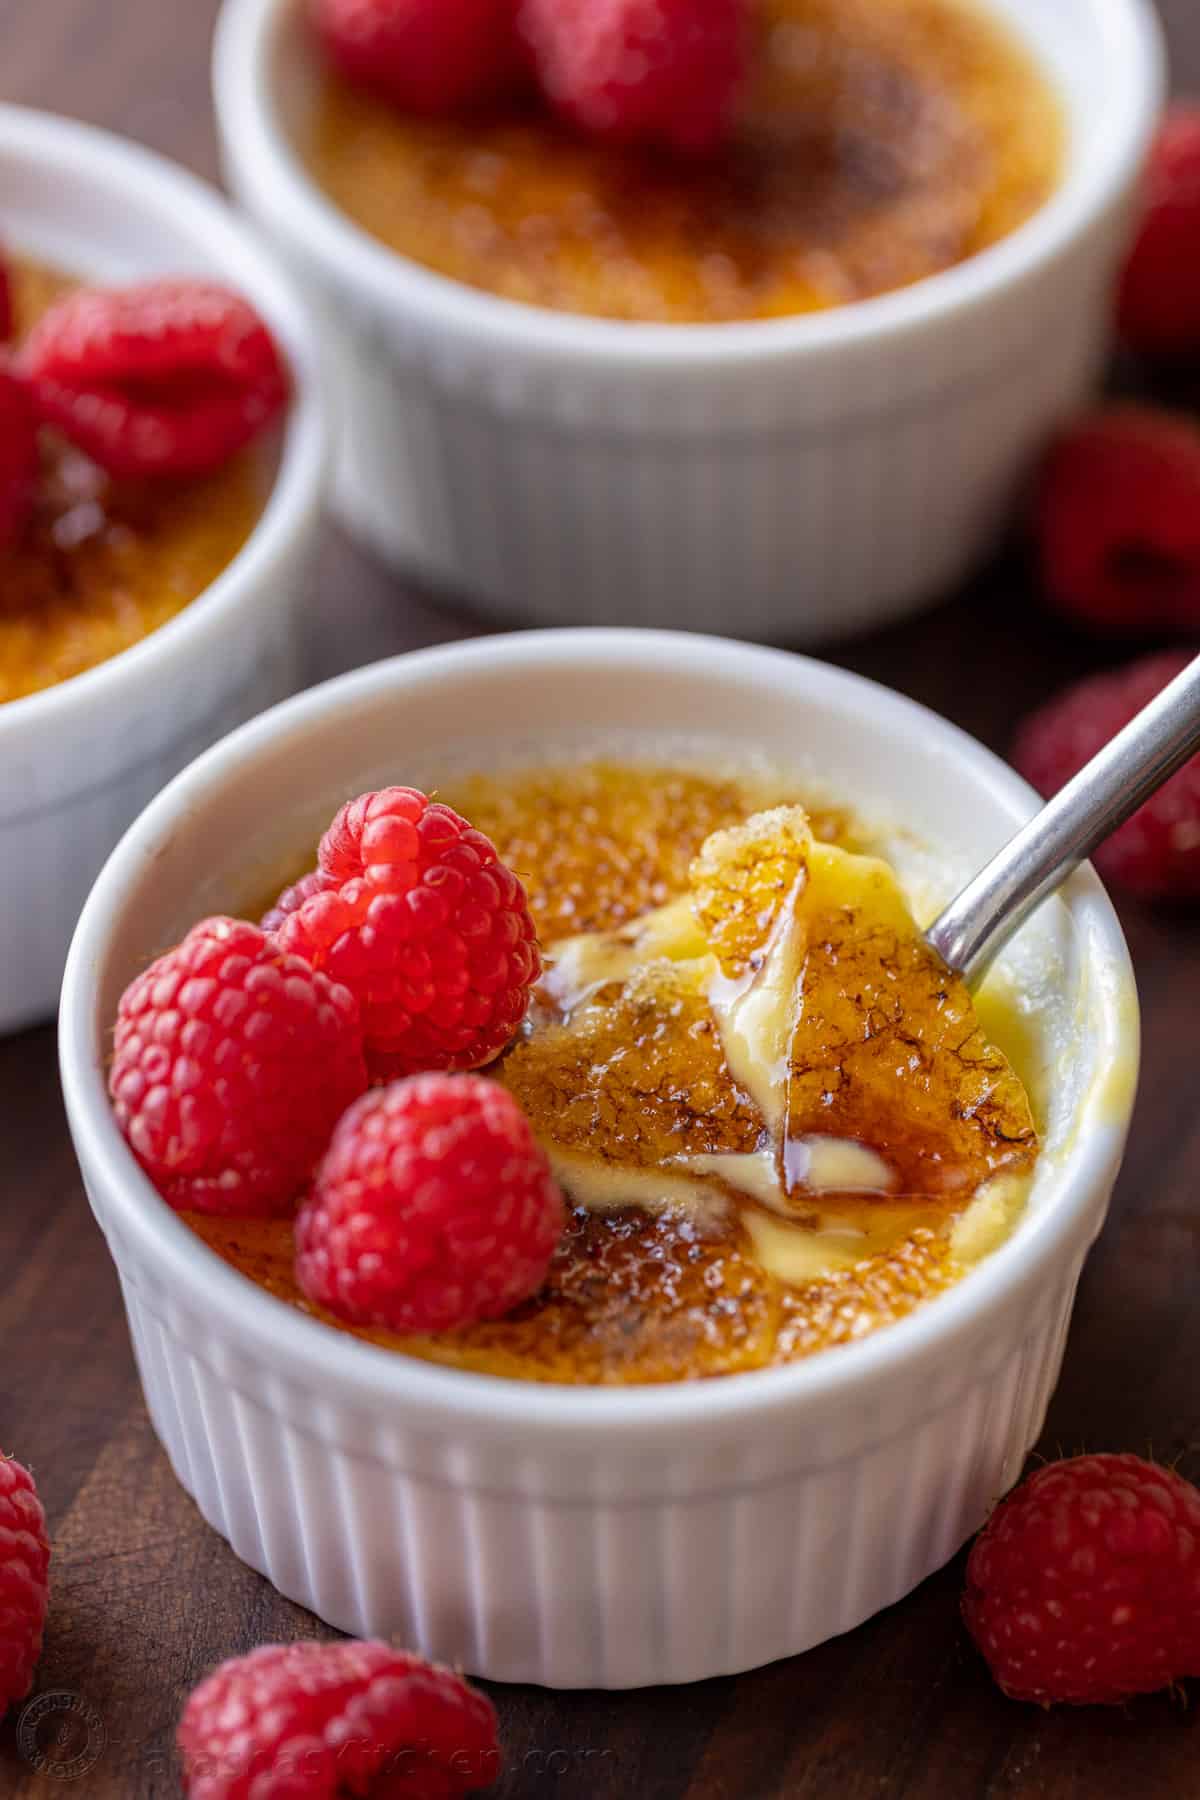
Crème Brûlée (pronounced “krem-broo-lay”) means “burnt cream” in French. It’s a classic dessert made from a creamy custard base topped with a layer of sugar. The sugar is then caramelized or “burnt” with a kitchen torch to create a hardened, crunchy top.
Vanilla is the traditional flavoring, but if you love Crème Brûlée, don’t miss our Espresso Creme Brulee and even Pumpkin Creme Brulee. You’ll have a favorite for every season!
Ingredients
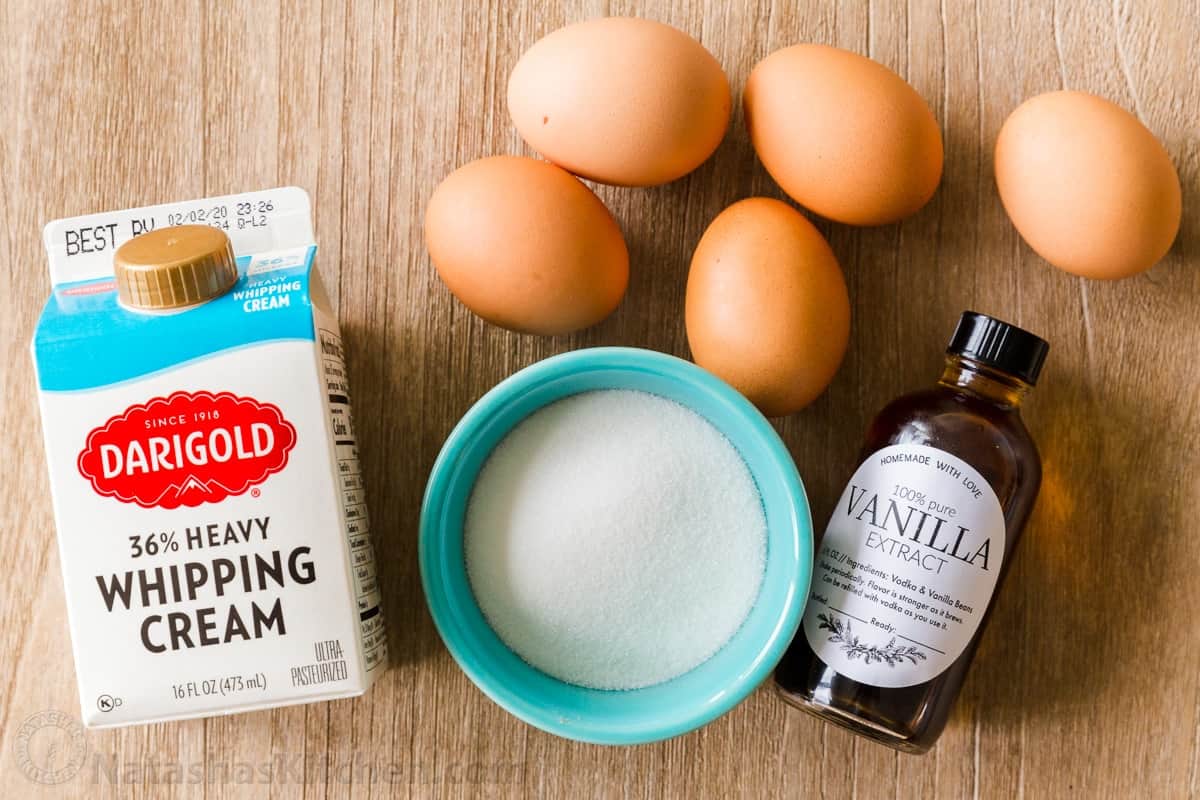
Below is a quick overview of the 4 simple ingredients you’ll need to make the perfect creme brulee. Don’t forget to refer to the full ingredient details in the recipe card.
- Heavy Cream – Full-fat heavy cream will yield the creamiest custard.
- Egg Yolks – Egg yolks thicken the custard and add richness. You’ll need the yolks from 5 large eggs.
- Sugar – White granulated sugar is best, plus a pinch of fine sea salt to balance the sweet flavors. Don’t forget additional sugar for the caramelized topping.
- Salt – balances sweetness and makes the vanilla flavors shine. We didn’t always add salt but it’s even better!
- Vanilla – Natural vanilla flavor is a must. See below for more details on the types of vanilla we recommend.
What kind of Vanilla Should I use?
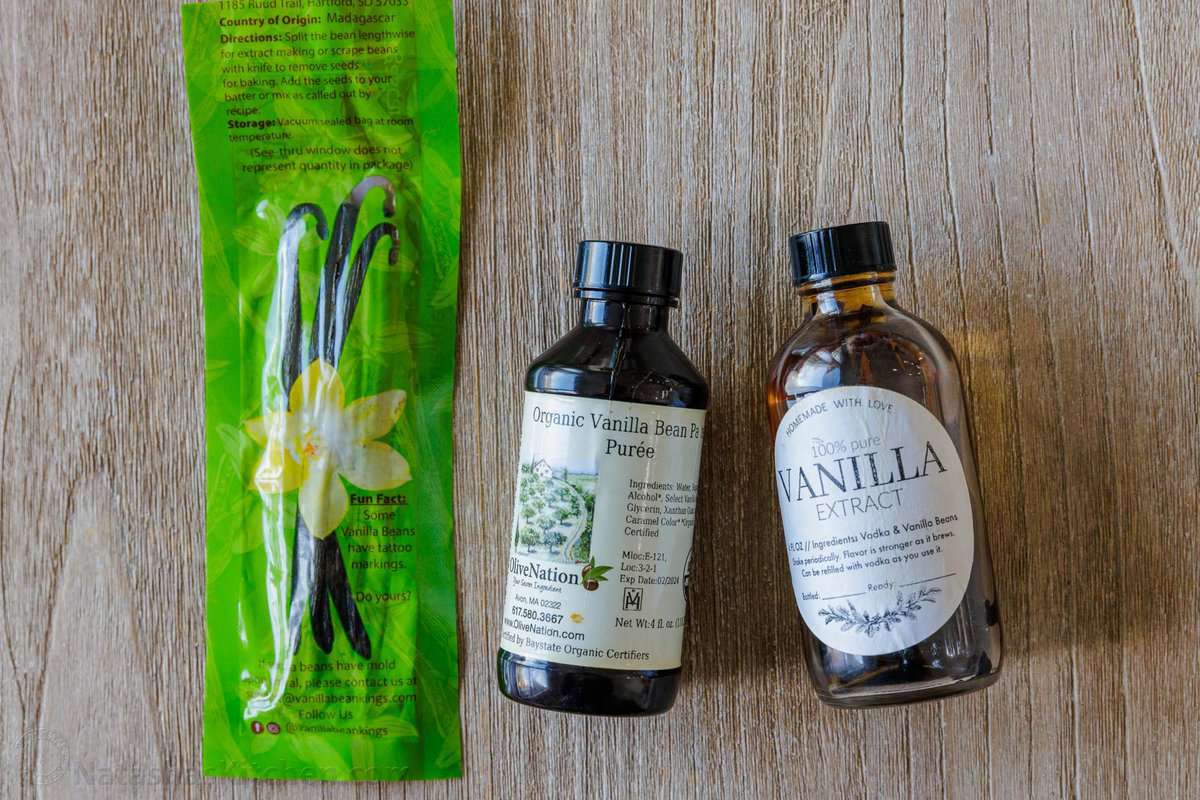
Vanilla creme brulee calls for the very best vanilla flavor: the real kind. Here are the options that work beautifully in homemade creme brulee:
- Vanilla Beans – These are long vanilla pods in their natural form. You’ll need to slice them in half lengthwise and scrape out the seeds then add to the cream while bringing to a simmer.
- Pure Vanilla Extract – This is the liquid extract from the vanilla bean. Make sure to use real vanilla extract, and not the artificial kind. You will taste the difference!
- Vanilla Bean Paste – Vanilla paste is thicker than vanilla extract and often contains flecks from the bean seeds. You’ll find this in the baking aisle in most major grocery stores. This is what I used in the video – it’s easy and looks fabulous with those little vanilla flecks.
How to Make Creme Brulee
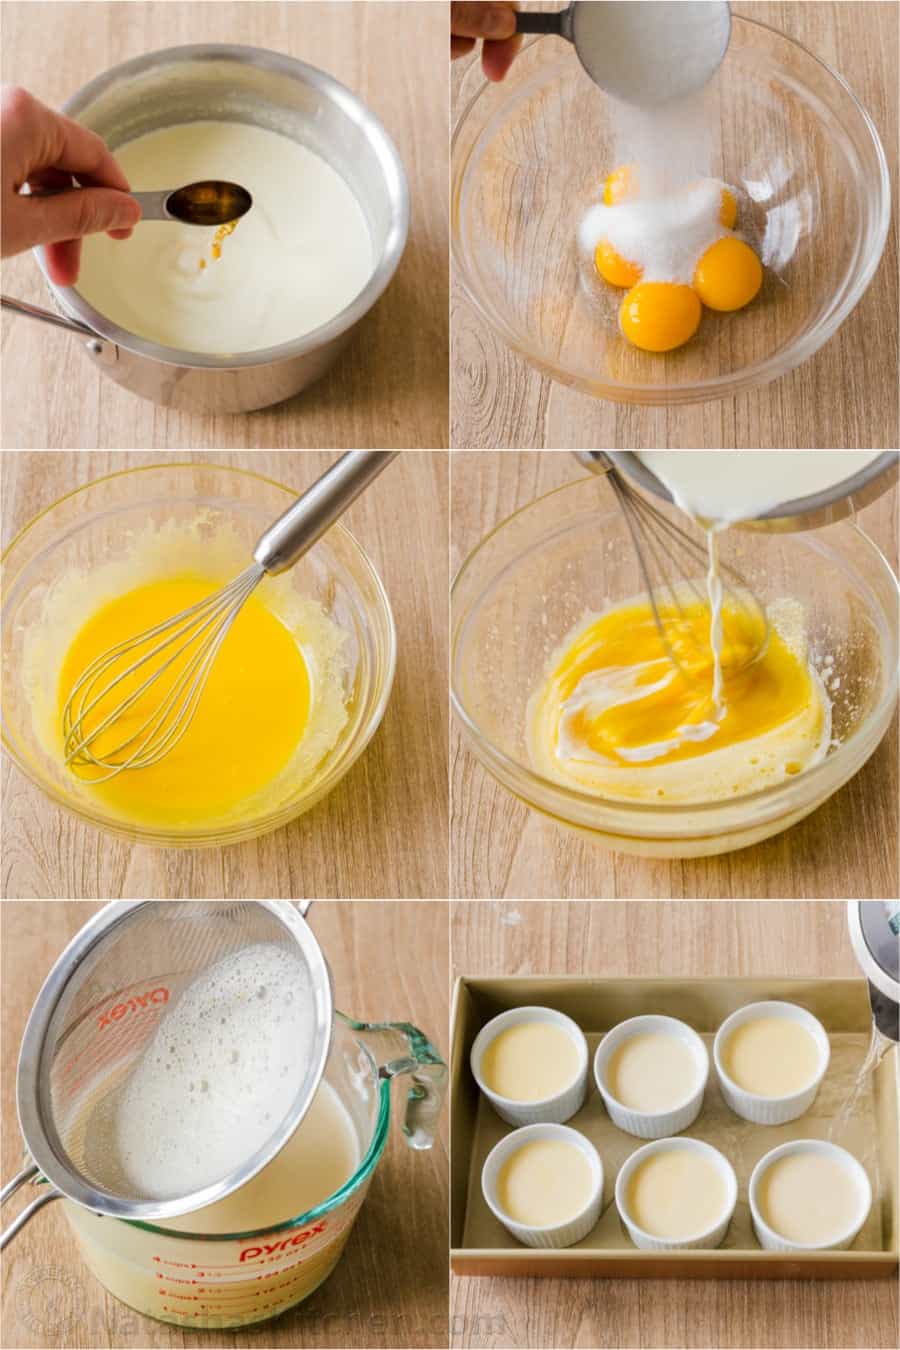
Making vanilla creme brulee from scratch is a seamless, 5-step process:
- Warm the Cream – First, heat 2 cups of heavy cream in a saucepan. Stir the cream frequently until it almost reaches a simmer, then add vanilla extract and remove from heat.
- Combine – In a separate bowl, whisk together the egg yolks with sugar and salt. Slowly stream the hot cream into the eggs while continuously whisking, to temper the eggs so that they don’t scramble.
- Strain – Next, strain the custard mixture through a fine mesh sieve. This part is optional, but it does help to knock out any bubbles and potential egg bits and ensures the silkiest consistency.
- Fill – Divide the custard evenly between six ovenproof ramekins or custard cups. Carefully place the ramekins into a 13×9 casserole dish and add boiling hot water to the casserole dish, going halfway up the sides of the ramekins.
- Bake – Bake the creme brulee at 300˚F for 30-35 minutes. Finally, transfer the ramekins to a wire rack to cool, then cover and then refrigerate.
Caramelizing the Sugar Topping
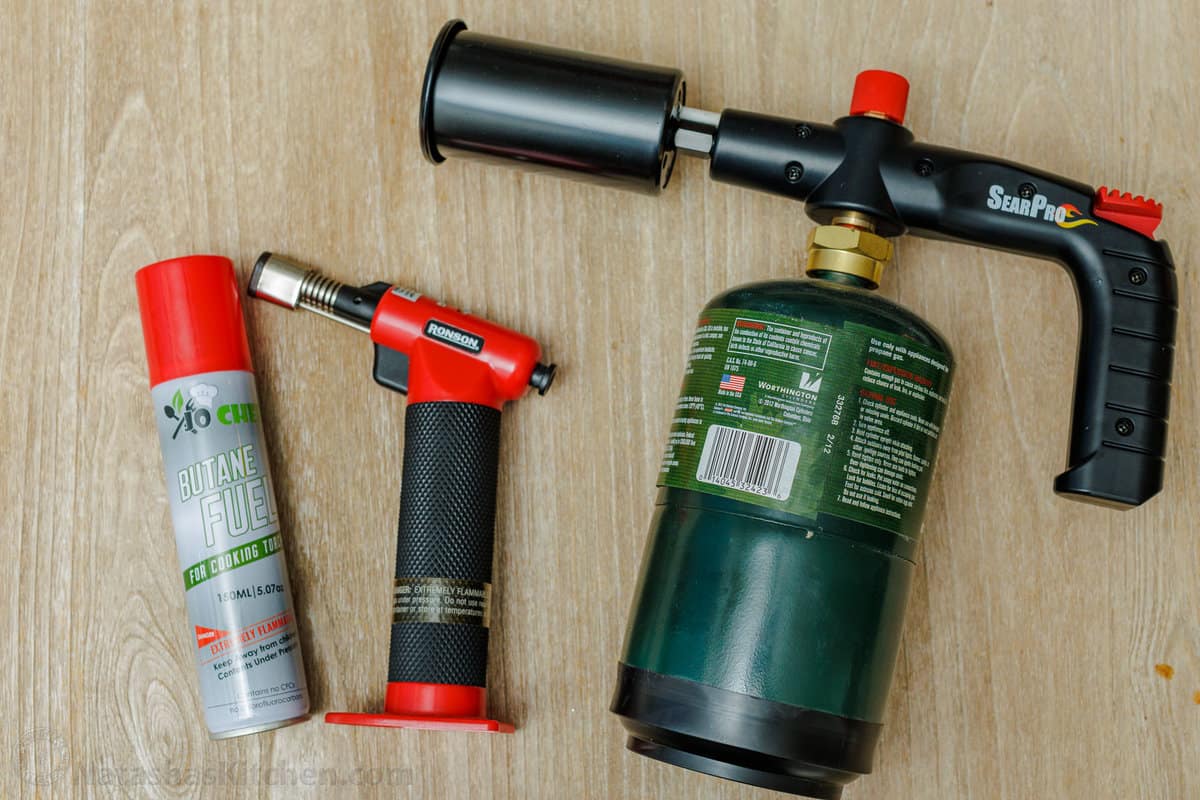
Torching is by far our favorite way to caramelize sugar on creme brulee. A small, inexpensive handheld multi-purpose torch does the job. I picked up mine at Home Depot along with a can of butane, as the torches are refillable. Also, a flame-thrower torch borrowed from the garage will also work fine.
- Sprinkle sugar – and swirl over each chilled custard.
- Brulee or scorch the top – moving in a sweeping circular pattern until all the sugar has reached a deep amber color.
The technique can take some getting used to, but trust us, you’ll be a pro in no time. Be careful as the custard cups can get hot.
Common Questions
What does creme brulee taste like?
Vanilla creme brulee custard is rich and creamy, with a sweet custardy flavor. Meanwhile, the burnt-sugar topping adds a sweet and crunchy contrast.
Can I use larger ramekins?
Yes. If using larger ramekins, you’ll need to bake the creme brulee about 5 minutes longer, or until nearly set with some wobble in the middle. I suggest four 6-8 oz ramekins if you want to make them larger.
Can I make this Creme Brulee recipe ahead?
The custard for your creme brulee can be prepped up to 3 days in advance, making it a great party dessert. You’ll want to brulee the top just before serving. See below for more make-ahead tips.
Make-Ahead
Whether you’re preparing this dessert ahead for a party or just looking to get a headstart, here’s how to store your homemade creme brulee:
- To Refrigerate: The custard can be made 3 days in advance, covered, and refrigerated, however, you’ll want to wait until serving to add the sugar topping. Otherwise, the humidity of the refrigerator will soften the caramelized topping.
- Freezing: It’s also possible to freeze creme brulee. Prepare and bake the custard as directed, leaving off the sugar top. Once the ramekins have cooled, wrap them tightly in plastic wrap and freeze them for up to 1 month. Thaw in the fridge, then top them with sugar and torch them as usual before serving.
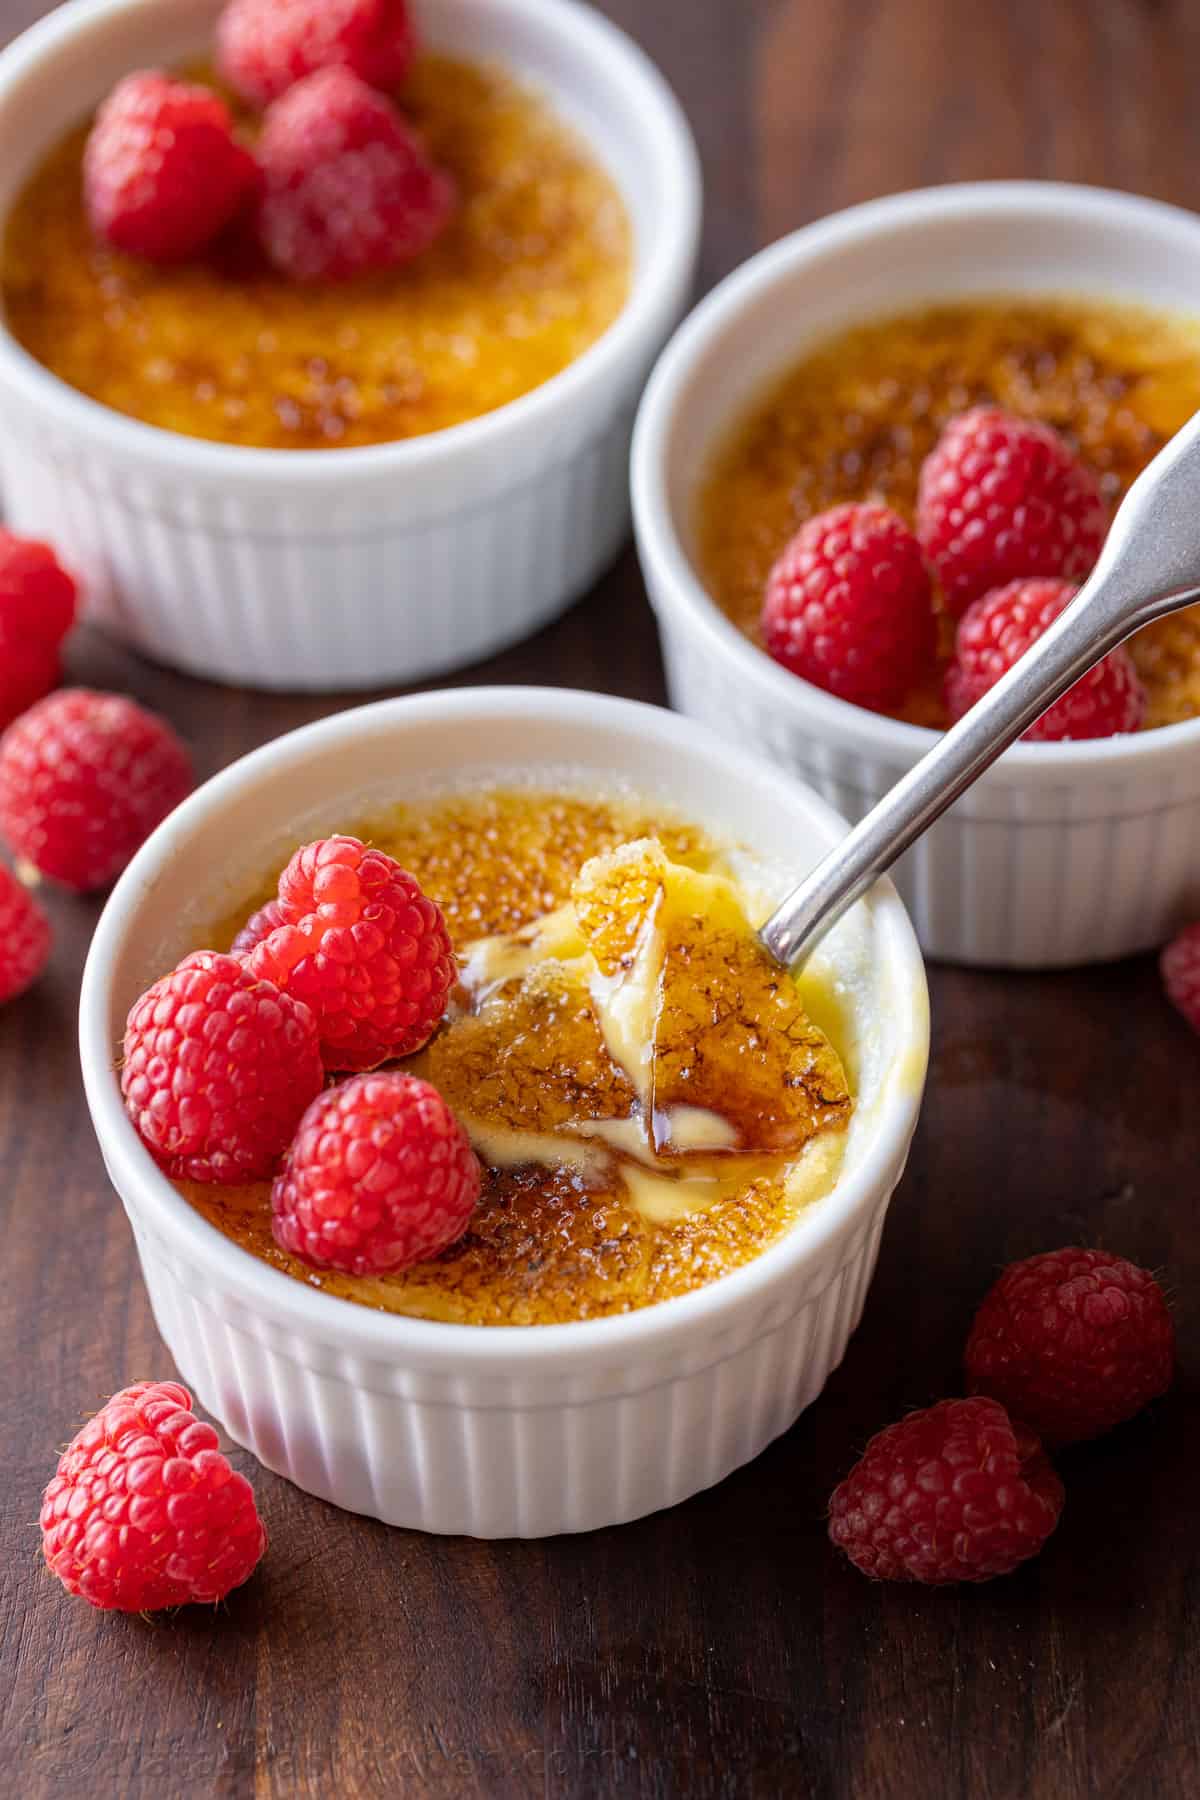
We hope you’re inspired to whip up some quick and easy creme brulee this week! It’s easily one of our favorite desserts to make whenever we entertain, as it’s effortlessly impressive.
Easy Creme Brulee Recipe
Prep Time: 20 minutes
Cook Time: 40 minutes
Total Time: 1 hour
Servings: 6 people
Ingredients for Creme Brulee:
2 cups heavy whipping cream
5 large egg yolks
1/2 cup sugar, plus extra for caramelizing
1 pinch fine sea salt
1 tsp vanilla extract
How to Make Creme Brulee:
- Preheat the oven to 300˚F. Pour heavy cream into a medium saucepan and set over medium heat, stirring frequently until steaming and almost at a simmer then add vanilla and remove from heat.
- In a medium bowl, whisk together 5 egg yolks, 1/2 cup sugar, and salt until blended. While whisking constantly, gradually drizzle in the hot cream. Start very slowly to avoid scrambling your eggs.
- Strain the mixture through a fine-mesh sieve into a large measuring cup with a pouring lip. Discard anything left in the sieve. Divide the mixture into 6 (4-oz) ramekins and place in a 9×13 casserole dish.
- Fill the baking dish with boiling water about halfway up the sides of the cups. Bake at 300˚F for 30-35 minutes, or until the centers are nearly set and have just a slight wiggle in the center. Carefully transfer ramekins from the water bath to a wire rack and cool to room temp then cover and refrigerate creme brulee until fully chilled (2 hours or up to 3 days).
To Caramelize the Top:
- When ready to serve, put 1 1/2 to 2 tsp sugar on each custard, swirling to spread evenly. Torch the top – moving in a circular pattern until the whole surface is caramelized to a deep amber color.
*If using larger ramekins, bake 5 minutes longer, or until nearly set with some wobble in the center.
Enjoy & share with your friends.

